If you’re going to attend a march, protest or event for Survival/Invasion Day, you may wish to create a sign. This is a fun activity you can do with your Mob, family and friends.
These instructions include the use of scissors and Deadly Story advises that children be supervised at all times.
Step 1: Decide on your message
Do you want to include words on your sign?
Think about what you want to say. Examples are:
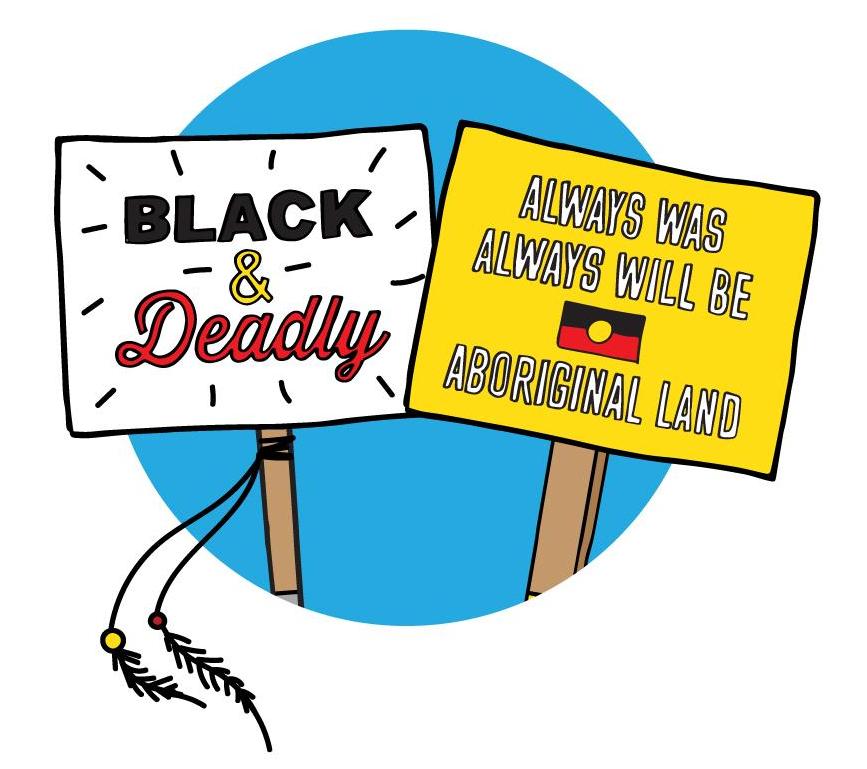
- Always was, Always will be Aboriginal Land
- Koorie and Proud!
- We Stand Strong
- Koorie Kids are Deadly
- Too Deadly
- Survival Day
- Land Rights Now
- Black & Deadly.
Try and keep your message short and sharp. There are templates with these slogans you can download at the bottom of this page.
Step 2: Design your sign
Choose which colours you want to use (such as red, yellow and black)
Choose any pictures or symbols you want to include (examples include an Aboriginal flag, a hand, a map of Australia)
Step 3: Gather your materials
Things you might need include:
- A large sheet of paper
- Poster board or cardboard
- Pencil
- Permanent markers
- Paints in the colours you want
- Material to use as a handle – wood in a rod or plank is best
- Thick sticky tape or gaffe tape
- Glue
- Scissors.

Step 4: Create your sign
After you’ve gathered the materials you need, come together with your Mob, family and friends to make your sign. You can be as creative as you like.
Some steps you may wish to follow include:
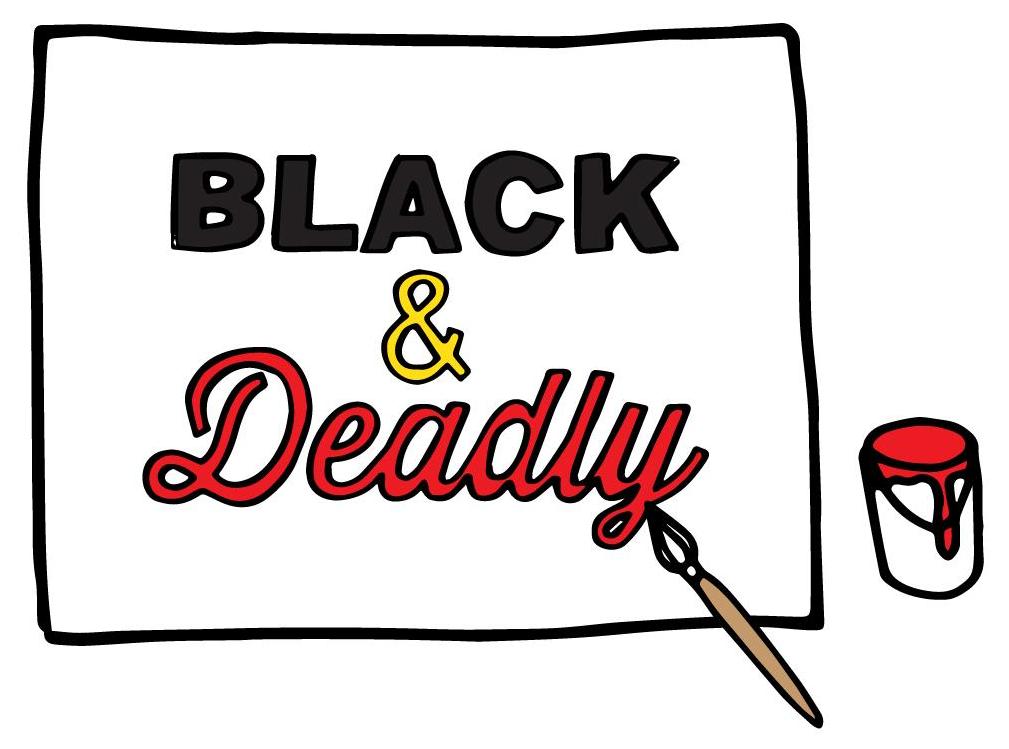
- Create your design on a large sheet of paper:
- Write out the words you want to include with a pencil
- Draw any images you want with a pencil
- Outline the lines or words with thick texter or permanent marker
- Start to fill in the colours with paint or texters – choose colours that contrast well
- Add any decorations to finish.
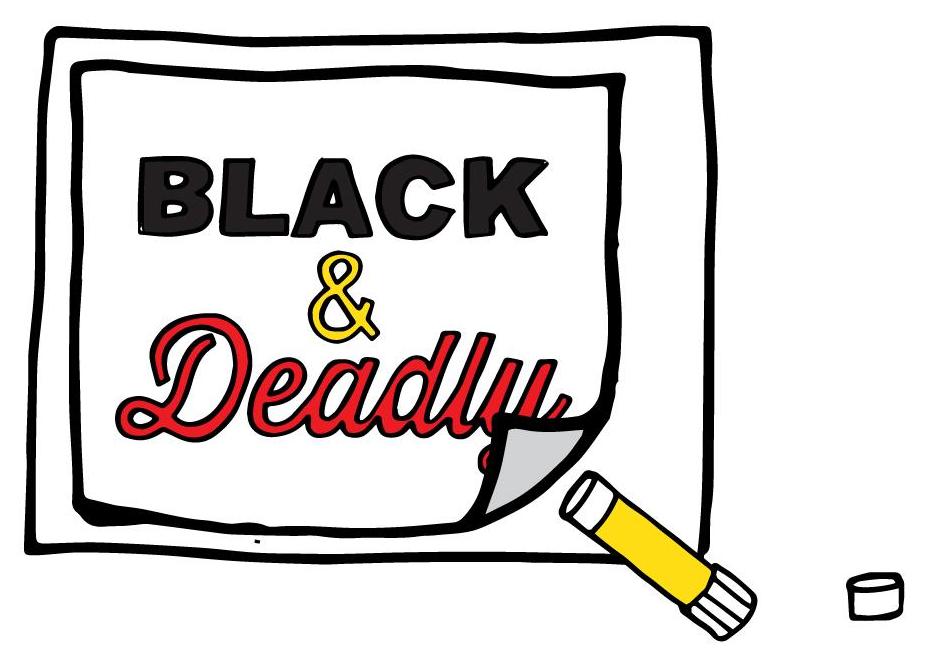
- Alternatively you can download one of the templates at the bottom of this article and colour or paint it.
- Glue your finished sheet of paper to a piece of poster board or cardboard. Cut the cardboard with scissors so it matches the size of your poster.
- Take the wooden rod or plank and stick it to the back of the poster with tape.
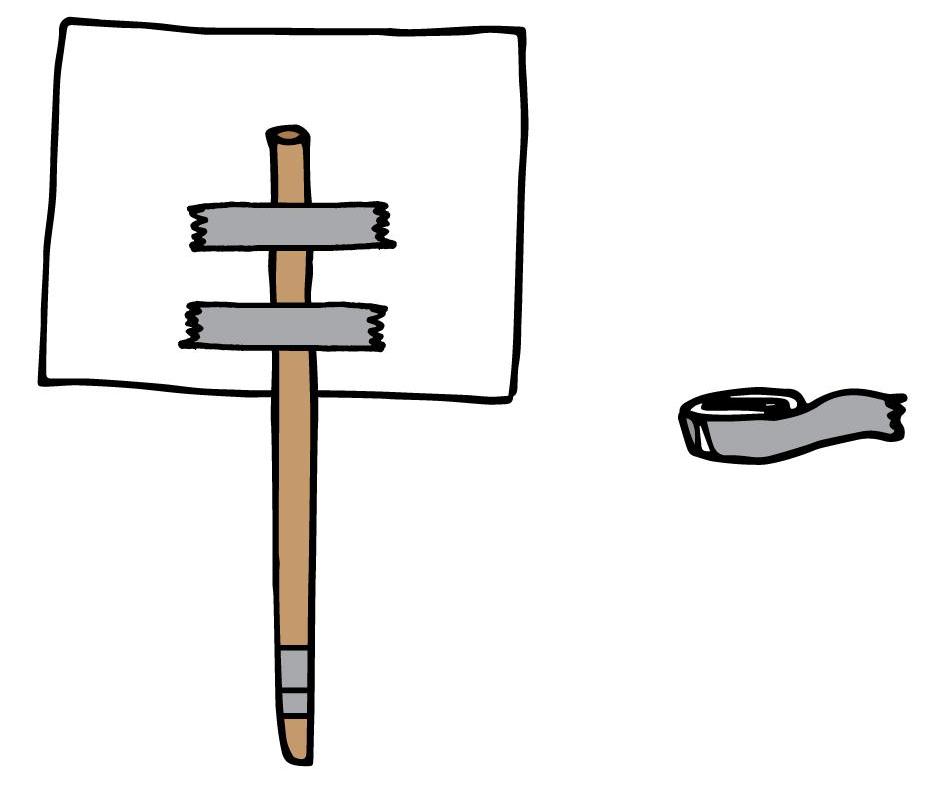
- If you wish you can create 2 sides for the poster and stick them on either side of the wooden rod or plank.
- Make the handle comfortable by wrapping some tape or material around where you’ll hold it.
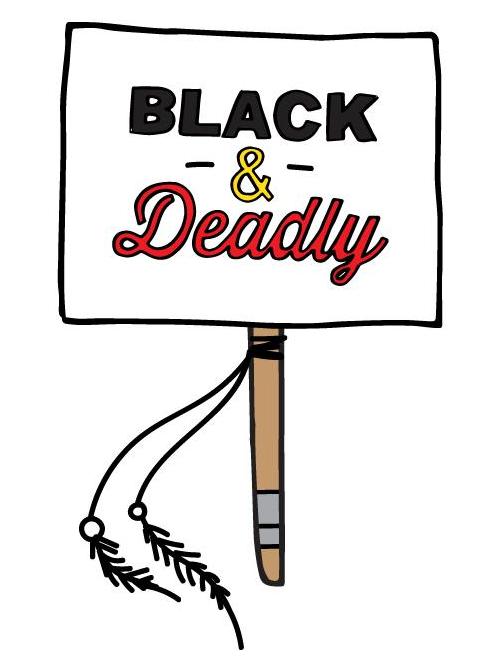
If you’ve made a sign using these instructions we would love to see pictures! Send them to [email protected] (Please let us know if you don’t wish your photo to be shared on the Deadly Story website or Instagram page)
Download some templates
Click on the tabs below to download some templates to help create your sign for Survival Day
-
Aboriginal Flag
Download and colour in your very own Aboriginal flag for your sign.Download
-
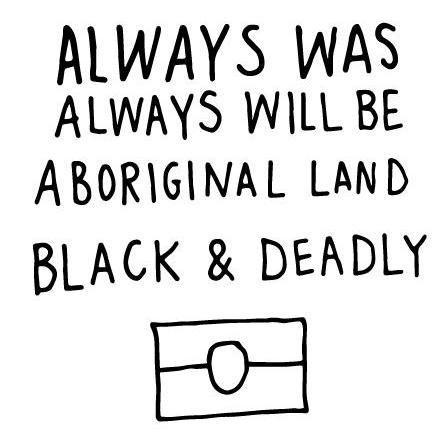
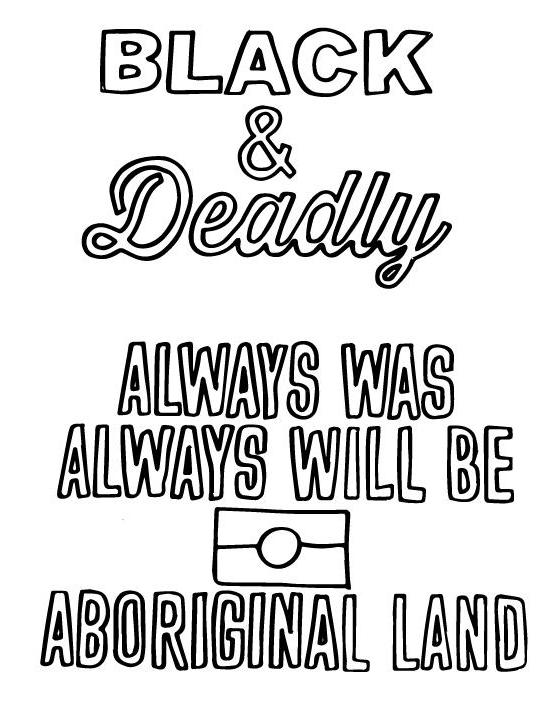
Always Was, Always Will Be
Download and colour in the sign - 'Always was, always will be Aboriginal Land'Download
-
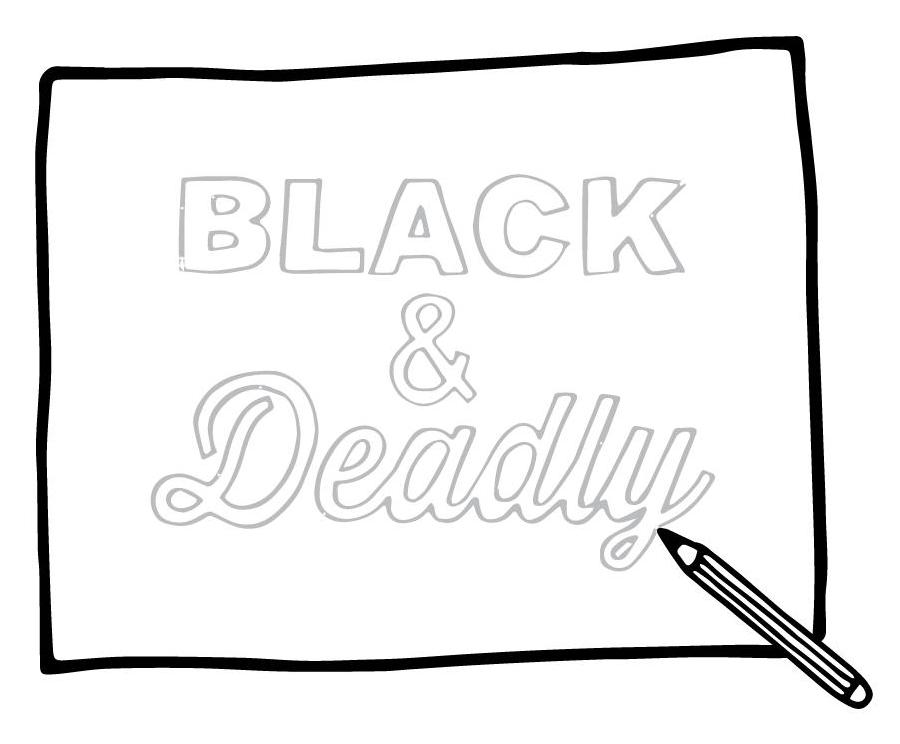
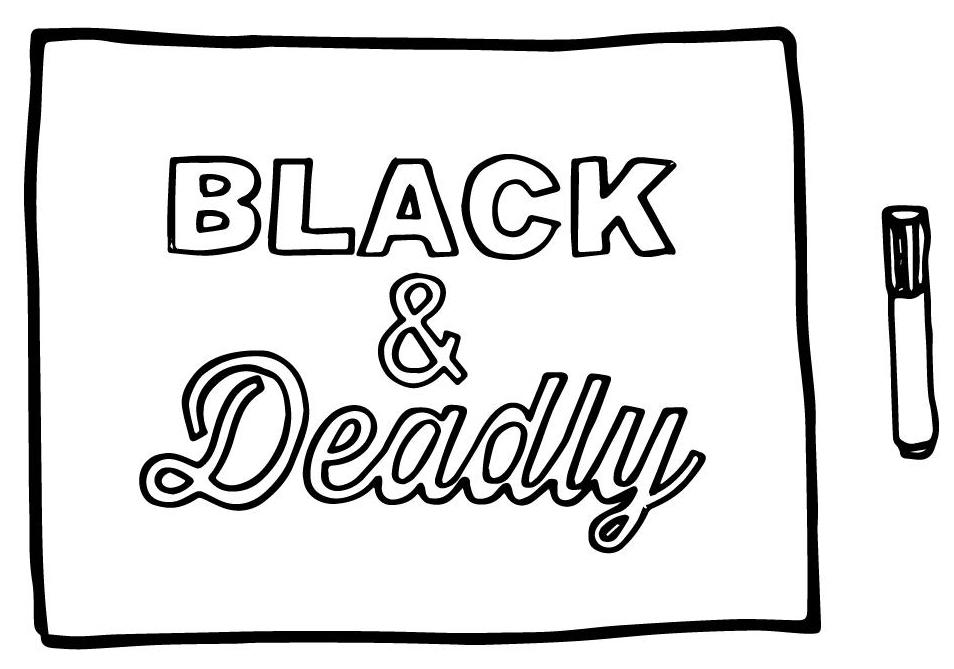
Black and Deadly
Download and colour in the sign - 'Black & Deadly'Download
-
Koorie and Proud
Download and colour in the sign - 'Koorie & Proud'Download
-
Koorie Kids are Deadly
Download and colour in the sign - 'Koorie kids are deadly'Download
-
Land Rights Now
Download and colour in the sign - 'Land Rights Now'Download
-
Survival Day
Download and colour in the sign - 'Survival Day'Download
-
Too Deadly
Download and colour in the sign - 'Too Deadly'Download
-
We Stand Strong
Download and colour in the sign - 'We Stand Strong'Download